1. Pre heat the oven to 230 degrees.
2. Take out the amount of clay you want to use and knead it in your hands. This will just get it warmed up and easier to work with.
(I am using two colors, but you can pick up to 3 different colors)
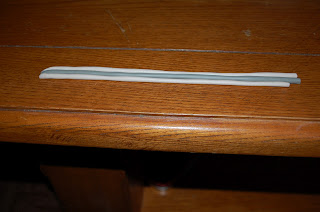
3. Roll out 3 sticks of clay.
IMPORTANT NOTE: You will need more than the length around your wrist. You will be braiding the clay together so you must take into account the overlapping of the clay. It is best if you make the sticks longer than needed because you can always take away the excess clay.
4. Push the sticks close together and smash lightly together at the top.
5. When you go to braid the bracelet, make the braid as tight as possible without tearing the clay.
6. Connect the beginning and end of the bracelet together by smashing lightly the two sections.
7. Bake in the oven for 30 mins. This will harden the clay and make it permeant.
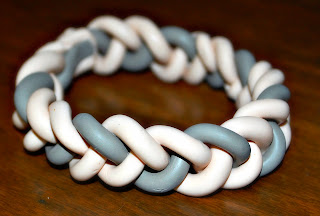
This is the finished product! Cute, simple, and easy! I encourage you to make your own! Let me know if you like this tutorial and I am always up for suggestions!


So do you actually wear that?!
ReplyDeleteYes ma'am! =]
ReplyDeleteIt doesn't fall apart or get all squished/squishy?
ReplyDeleteWhen you bake polymer clay in the oven, it hardens just like real clay.
ReplyDeleteThis is sooo cool!!
ReplyDeleteThank you Lindsey =]!
ReplyDeleteI love it! It turned out awesome. Good job :)
ReplyDeleteThank you Miss Kristi! =]
ReplyDelete